


Smart lock replacements can feel a little overwhelming when you first unbox them, filled with pieces that look unfamiliar if you’ve never taken apart a deadbolt before. But I have good news: Installing a smart lock is almost always a DIY project you can accomplish in an hour or two, even if it’s your first time.
Let me walk you through installing a smart lock from start to finish, including practical tips the instruction manual won’t cover. Here’s what I’ve learned from installing more smart locks than I can count, starting with what you’ll need.
Note: Your door will be open for nearly the entire process, so it pays to pick a warmer, nonrainy day.
Read more: How Smart Lock Installation Costs Compare With the Money You Save Installing Yourself
Gather your supplies
Installing a smart lock usually doesn’t take much and is often a one-person job, though certain steps are easier with two people. When I do it, I usually gather:
- A couple of Philips head screwdrivers, a larger and a smaller version
- A flathead screwdriver
- A small level
- A towel (never go anywhere without your towel)
- A drill with a Philips head bit (only rarely necessary)
- A pair of long-nose pliers (only rarely necessary)
If you run into problems with your door installation, your instructions may direct you to use a drill bit to bore new holes in your door to accommodate larger plates or different-sized deadbolts. This can be tricky depending on your door design, so if you are worried about making major modifications, calling a locksmith is an option. A professional locksmith visit typically costs around $100 to $200 in my experience, not including materials.
Download the app, sign in and add your deadbolt if necessary
Search for your smart lock’s home app, download it to your phone and sign in as necessary. Many smart locks are Matter-compatible now, which makes these steps easier, but you should still start with the brand’s own app, even if you intend to use something like Apple Home to control the lock.
When able, choose to add a device in the app. At this point, the app will have you scan a QR code on the door or enter similar information to identify your model. This is important because it starts the setup process, which often includes images and videos to make certain parts of the installation easier.
Take a look at your old deadbolt and unscrew the deadbolt plate
When ready, open your old deadbolt and give it a good inspection. Look for any signs of jamming or wear and tear on the door that may need to be addressed before you get a new lock, and note the general size of the previous lock and whether there’s enough room for the new — usually bulkier — version.
Use a larger screwdriver to unscrew the deadbolt plate on the door (where the deadbolt comes out of). If your deadbolt is very old, the screws may be stuck, in which case I would switch to a drill and add some WD-40 if possible. Unscrew the two screws fully and remove them to loosen the deadbolt.
Uninstall the door strike plate if necessary
On the door frame, you should find the strike plate, where the deadbolt enters to complete the locking process. You usually have the option to remove the strike plate as well — most smart locks come with a new strike plate you can install.
On one hand, it’s nice to get a brand new strike plate to go with your new lock. On the other hand, strike plates are very sensitive to position and alignment, so making a mistake in replacing it could mess up your lock (see the chips from my many bolt experiments as an example of what could happen).
If you’re happy with your current strike plate and it’s not rusted, I’d leave it alone myself. If not, now’s the time to unscrew it, too — but make sure the new strike plate will fit properly in the same place, and note if you’ll have to drill new holes.
Unscrew your old lock components and pull out the deadbolt
Examine the inside and outside components of your deadbolt, and you should find a few smaller screws holding them together. Unscrew these screws as well. Again, if they’re very old, they may be stuck, so go slowly to avoid stripping them and use the rubber band technique if necessary.
When fully unscrewed, you should be able to disassemble the lock entirely. In fact, it will often fall apart on its own, so be wary of your floors. Pull the old deadbolt out so there’s nothing left but a hole in your door.
Measure your deadbolt space with the included guide
Almost all smart lock manuals include a printed guide to tear out and use to measure your door. This guide helps you measure door thickness, backset length, bore hole size and other key dimensions that will show you if the smart lock fits, and if you may need to make any changes.
I know it looks complicated, but it’s actually pretty simple. You’ll want to remove the guide and set it at the center of the bore hole as directed by lines, then wrap it around your door to the outside and make sure the bolt throw zone lines up properly. The guide will have more detailed instructions to follow, but it’s not something most people need to worry about — nearly every home front door uses a standard size unless you ordered a custom model.
There are typically a couple of deadbolt size options shown in the guide, and many smart lock companies offer larger components to accommodate larger bore holes. But if your door doesn’t match these standard sizes, you may have a problem that’s best addressed by a locksmith or a different product.
Screw in the new deadbolt and plate, right side up
Take out the components of your new smart lock and arrange them. Take the new deadbolt and examine it for a marking that says “up” or an up arrow. Insert the deadbolt through the hole with that side up.
Using the screws labeled in the instructions (some manuals even have actual screw for each step so you don’t get them mixed up), screw in the plate into the old spot. This is an important part: You really don’t want the new bolt to be crooked or misaligned, so take your time as you tighten the screws to make sure it’s straight and in the exact place as the previous bolt.
If you are adding a new strike plate, install it now as well, taking the same amount of care.
Attach the outside section, sliding it through the deadbolt
Close the door and insert your flathead screwdriver into the flat gap at the center of the lock that controls the bolt. Twist the screwdriver sideways to close the deadbolt. Try this a few times to make sure the bolt moves smoothly back and forth, and adjust as needed.
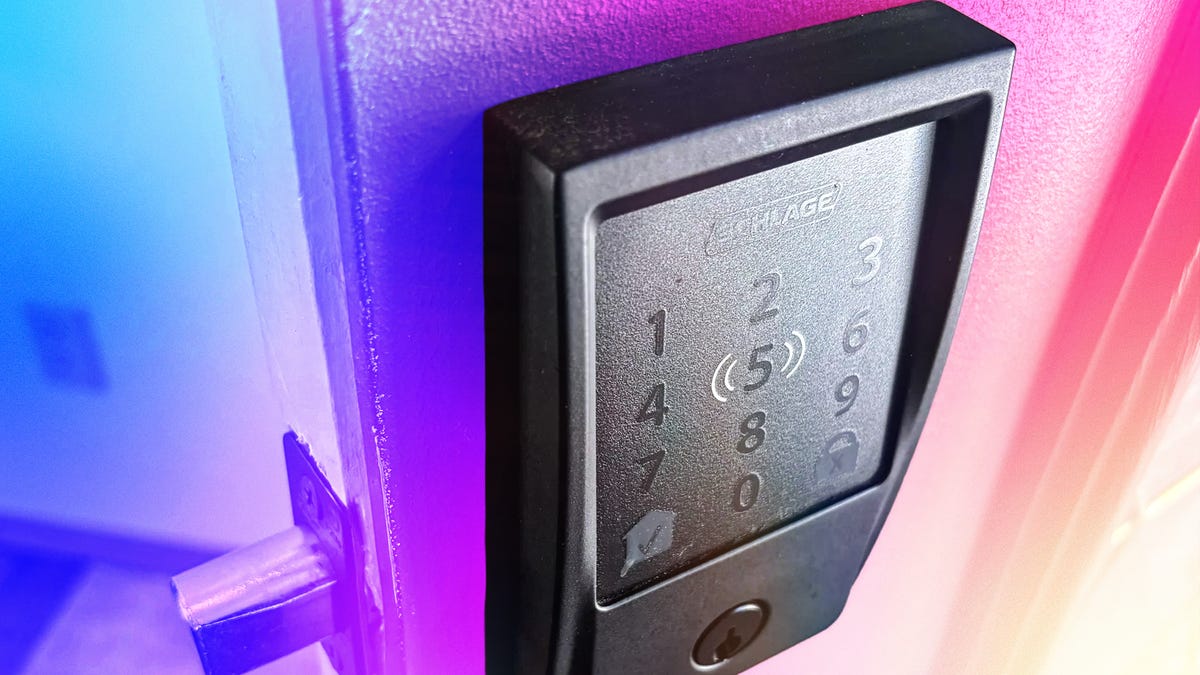
Now take the outside section (also called the housing) of the smart lock, which includes the keypad, fingerprint sensor and other opening mechanisms. It should have a thin metal rod and a small electrical cable protruding from it. Keep the deadbolt close, slide the control rod into the deadbolt’s slot and thread the cable through the gap beneath. Your manual or app should have a diagram of exactly where to put them.
Use a level to make sure the outside section isn’t crooked. At this point, unless you have four hands, it’s very useful to have someone else hold the outside section in place, as it’s too heavy to stay there on its own. Or you could use some duct tape.
Install the inside mounting plate (if you have one)
Many smart locks use an interior mounting plate to hold the interior housing (thumb turn and battery case) more firmly in place and to avoid potential damage to the door surface. If yours came with a mounting plate, now is the time to install it. These plates come with holes or gaps for screws and usually screw through the deadbolt into the outside housing. Double-check the plate is properly aligned and screw it firmly against the door if you have one.
Connect the wires to the inside section
Hold up the inside housing close to the deadbolt. There should be a connector at the end of the cable that you can slot into the inside part, usually in an area with circuitry. Now, guide the metal rod into the hole controller by the thumb turn, so all three pieces are joined.
Connecting the cable is more difficult with compact smart locks. You may find you have to carefully curl the cable up in the tiny space provided until the thumb turn section sits flush against the door. It can take several tries.
Screw in the inside section through the deadbolt to the outside section
The inside component with the thumb turn should have two or three holes for the final types of screws in the kit, which will go through the deadbolt and connect all three pieces of the smart lock. Holding both the inside and outside components in place — your level may again come in handy to make sure they’re aligned — screw in the screws slowly until just tight.
Again, many locks have a mounting plate to install before this step, and the inside housing will either screw into or through this plate at this stage. If the screws go through the deadbolt into the outside section, they’ll be extra-long.
Test the deadbolt, and add batteries
Use the thumb turn to test your deadbolt and make sure the bolt still moves freely into the strike plate.
Add the batteries to the inside component. They are typically included, usually AAs or a rechargeable battery pack. The lock should light up and beep as it enters a pairing mode.
Bring up the app and connect the deadbolt
Return to your app and move through all the installation steps. Many locks require you to perform calibration tests in which you hold the door in certain positions and open or close it. Then you’ll need to set a primary passcode for the lock, add fingerprints if necessary, and create additional user profiles if you want. You’ll also need your Wi-Fi password handy during these steps.
With setup complete, you’re ready to add the lock to other platforms and adjust settings like autolocking and what door alerts you want to get on your phone. Door lock settings are typically very straightforward compared to other smart home devices, so there’s no learning curve here. Just make sure to go through all the settings so you understand them.
What if I have a lever lock?
Many smart lock companies, including Philips and Level, sell lever locks or lever and deadbolt combo locks you can use. Levers are generally much easier to install compared to deadbolts. If you can follow this deadbolt guide (and you made it this far, so I know you can), adding a smart lever shouldn’t be any problem.
What about installing a retrofit?
Retrofit smart locks are much easier to install. They fit into your existing deadbolt, so there’s less measuring and replacing required (and they tend to be cheaper). Following this guide for tips will help you with retrofits too, but it’s a significantly shorter project.
Now that your DIY skills are honed, why not stop by my guide to the best thermostats and how to install a smart thermostat, saving on professional fees?
Read the full article here


