


")


Certain condiments should be made from scratch whenever possible, like salad dressing. Others, including ketchup, should arguably never be made from scratch. (I’m sorry, but it’s Heinz or bust, baby.) Somewhere in the middle of that discourse — to be filed under the heading of “I didn’t even know you could make this from scratch” — consider butter.
In about 10 minutes and with just a handful of tools and ingredients that are not hard to come by, you can be churning your own butter at home. You don’t even need a partner to justify being your own trad spouse here. Neither a butter churn nor a colonial apron and bonnet are required.
Depending on the cost of cream in your local area, this isn’t so much a cost-saving measure as a cool thing to do. In the spirit of a deeper understanding of what we eat all of the time, though, and since it’s so dang easy, why not make butter?
With sweet corn season upon us, what better way to tap into the farm stand vibe, no matter where you reside, than with a crock of butter made by your own hands. (Or small kitchen appliance.) Great for gifting, customizing with add-ins like honey, garlic or herbs, or simply showing off, here’s everything you need to know about making butter from scratch.
Read more: Do You Need a Blender, Food Processor and Stand Mixer?
What is butter? How ‘churning’ butter works
Butter is simply the collected fat and most of the protein from cream, which is itself the fatty layer that rises to the top in a batch of fresh dairy milk. Skimmed milk — which is not just the milk we call skim, but any milk less than whole — has had its cream component removed or reduced.
Agitating cream by shaking, whisking or churning breaks down its fat membranes, which then become sticky and clump together, separating the fat and protein from the water in the cream. This water content, the leftover milky liquid from butter making, is known as buttermilk. This is a slightly different product than conventional packaged buttermilk, which is higher in acid, but the buttermilk from butter making can typically be used in much the same way with a little recipe adjustment.
If you’ve ever whipped cream beyond the point of stiff peaks to where it starts to look curdled and separate, then you’ve actually already come close to making butter. It’s as easy as that.
Everything you need to make homemade butter
Honestly, a jar with a tight-fitting lid would suffice to get you from cream to butter, but for maximum quality and stability with minimal elbow grease required, gather the following:
- Stand mixer with whisk attachment
- 2 cups heavy cream (not whipping cream)
- Fine sieve or cheesecloth and bowl to strain into
- Bowl of ice water
- Optional: Sea salt flakes or other mix-ins
- Optional: Butter paddles
How to churn butter using a stand mixer
1. Fit your stand mixer with the whisk attachment, and add the cream to the bowl. Using less cream than the two cups recommended will require more stopping and starting to scrape down the sides. Two cups of cream will result in just under a cup of butter, with a little over a cup of buttermilk you can put to use as well.
2. Whip the cream on medium-high speed and watch while it transforms beyond the whipped cream stage, into a slightly curdled-looking stage. At this point, increase speed to high, and in a couple of minutes the mixture will become sloshy, with the liquid having fully separated from the fat.
3. When you can no longer whip the mixture on high without it sloshing out of the bowl, you’re done. At this point the solids will look like fluffy scrambled eggs. The beta carotene in milk is concentrated in the solid mass. Once it’s separated from the liquid, the color will be slightly more yellow than the white liquid left behind. The higher quality the cream you begin with, the yellower the butter.
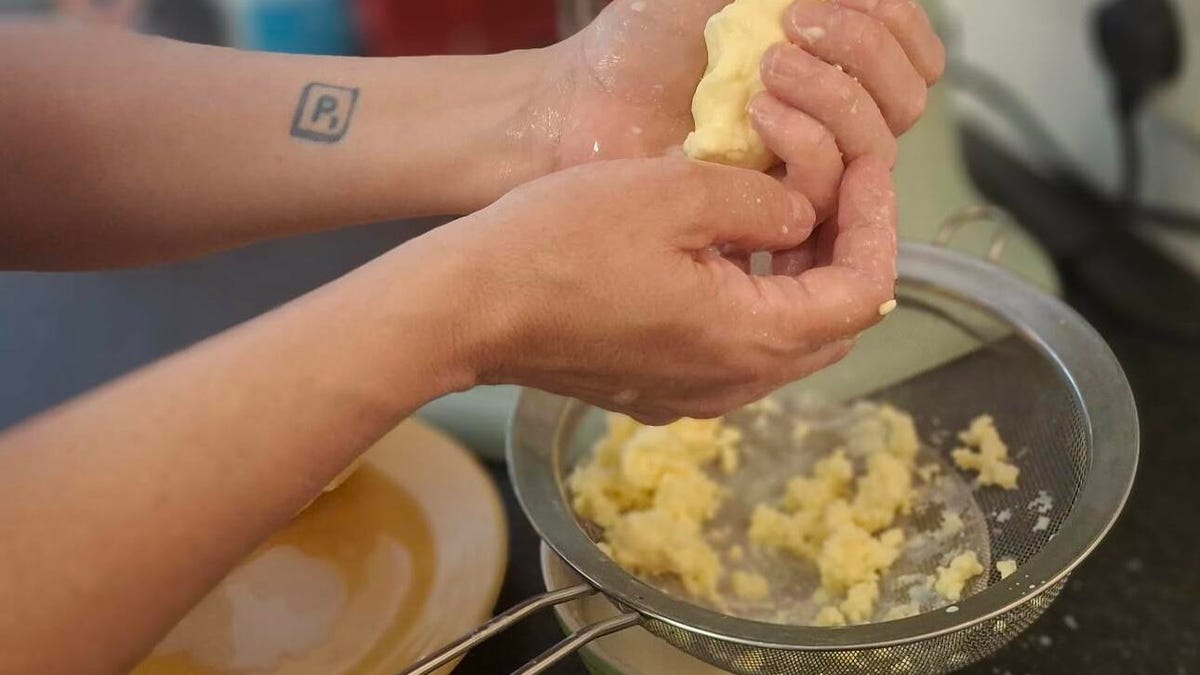
4. Transfer the mixture to a cheesecloth or sieve set over a bowl, and use your hands to squeeze out any additional buttermilk. The more liquid you can extract from the butter, the richer and more stable it will be.
5. Optionally, at this point you can add the butter globules to a bowl of ice water to shock them, squeezing them in the ice water, which also helps extract even more moisture.
6. Remove butter from the ice water and season to your liking by kneading in any seasoning or mix-ins. About half a tablespoon of sea salt will give you lightly salted butter. If you’re an accessory nut, small butter paddles can be used to knead and shape the butter.
7. Spread the finished butter into a butter dish or crock, or shape into a log and wrap with plastic wrap. Store in the refrigerator for up to a couple of weeks.
Other ways to churn butter besides a stand mixer
Any device or process used to whip cream can also be used to make butter. Manually, a jar with a tight-fitting lid would work, but you might want to also assemble a brigade of butter-makers to pass the jar around when your arms inevitably get tired before butter is achieved. Additionally, a food processor, high-speed blender, immersion blender or electric hand mixer can also get the job done.
Naturally, an old-fashioned “=”” wooden=”” butter=”” churn”=””>”dasher-style” wooden butter churn is built for this exact thing, if you’re feeling extra, but smaller hand-crank butter-churning kits with various accessories are also available and would make great gifts for the butter lovers in your life.
Read more: Stop Mixing by Hand. The Best Stand Mixers of 2026 Do the Hard Work for You
Read the full article here


