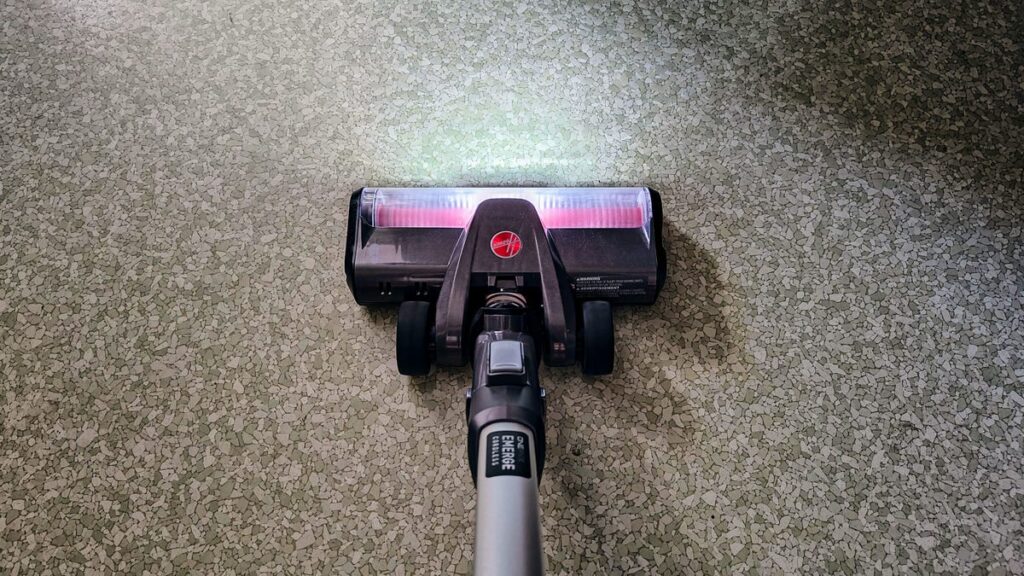
Let’s be honest with one another: vacuuming is never fun. It’s loud, and depending on the machine, can be a pain to move around the house. Unfortunately, while it isn’t the peak of entertainment, vacuuming can make a massive difference in your home. Using a vacuum to suck up debris, dust, and pet hair from your floors not only makes your house look better, but it can also actually improve your indoor air quality. Your lungs will no longer feel the heaviness of dust as the vacuum rids your living space of microbes and dirt particles that would otherwise get kicked up by foot traffic.
Most important is this: If you find yourself with a pest problem — whether that be mice or cockroaches or something else entirely — it’s vital to keep your floors clean so the critters have nothing to feed on. Vacuuming can help with that.
Of course, if you’re like me, you may not have known there is a correct and incorrect way to clean your floors. After all, it seems simple. You move your cleaning utensil back and forth, going through the motions. But the truth is that even if you have the best vacuum on the market, using it the wrong way will prevent the tool from performing at its peak — creating more work for you in the long run.
We’ve done a lot of in-depth hands-on and lab testing to ensure we are recommending the best cordless, robot and budget vacuums on the market, but the best tool isn’t going to help much if we don’t use it properly.
If you make sure to combine our top vacuums with these professional cleaning tips, you’re sure to have tidy floors in no time.
The right way to vacuum clean your home
Those short, quick, back-and-forth motions that the majority of people do when vacuuming isn’t sucking up all that dust, dirt and lint that is embedded into carpets and floors. The more efficient way to vacuum — and the way professional cleaners do it — is to go forward, in structured rows.
You’ll first start by vacuuming a row of your carpeting in one direction, wall-to-wall. This first pass should be against the nap of the carpet to make it fluff up and to make the deeply embedded dirt come up easier. A way to tell if you’re vacuuming against the nap correctly is if the carpet piles stick up or look a little darker.
Next, push the vacuum back over that strip you just vacuumed. This will lay the carpet back down flat and will suck up the rest of the dirt you missed on the first pass. Once you’re back to your starting place, vacuum another strip right next to the first, overlapping slightly. Keep repeating this routine until the whole room has been vacuumed thoroughly.
Once you’ve completed that step, go perpendicular: If you were vacuuming north to south the first time, vacuum east to west on this second pass. If you think of your floor as a grid, you’re going to want to pass over each square both ways for the best results.
Yes, it’s extra work and maybe it even seems like overkill, but this method ensures you get every bit of dirt and debris, which will keep your carpet cleaner and looking newer for longer.
For more helpful vacuum info, explore the best Roomba alternatives to keep your floors clean and the best robot vacuum deals available now.
More vacuum tips
FAQs
How many times should I repeat this technique?
You should repeat this technique as many times as it takes to vacuum overlapping strips across the entire room. Then, you should start the same process vacuuming the floor in the direction perpendicular to when you started.
Does this technique work with carpet cleaners?
This technique absolutely works with carpet cleaners, but be aware that carpet cleaners are there to wash your carpet — not pick up the debris and dirt. That’s why it is recommended to use a carpet cleaner first, and then wait for it to dry before using the vacuum with the aforementioned technique.
Read the full article here

