


By changing a few settings, you can improve your TV’s picture. You don’t need special equipment or even specialized know-how; it’s simply a matter of knowing which ones to adjust and which ones to leave alone. Whether you’ve just bought a new TV, such as the G6, C6 or the award-winning G5, or you’ve had an LG TV for a while, these setting tweaks can help. Because even something as simple as changing the picture mode can elevate your viewing experience. That’s because certain settings, including brightness and sharpness, may not work the way you expect.
LG makes some of the best TVs, and both OLED and LED models have specific settings that are worth adjusting. In this guide, we cover LG TVs with the WebOS interface, but older TVs may have these settings in different places. However, the names will be similar and usually work the same way.
Don’t miss any of our unbiased tech content and lab-based reviews. Add CNET as a preferred Google source.
Accessing the settings
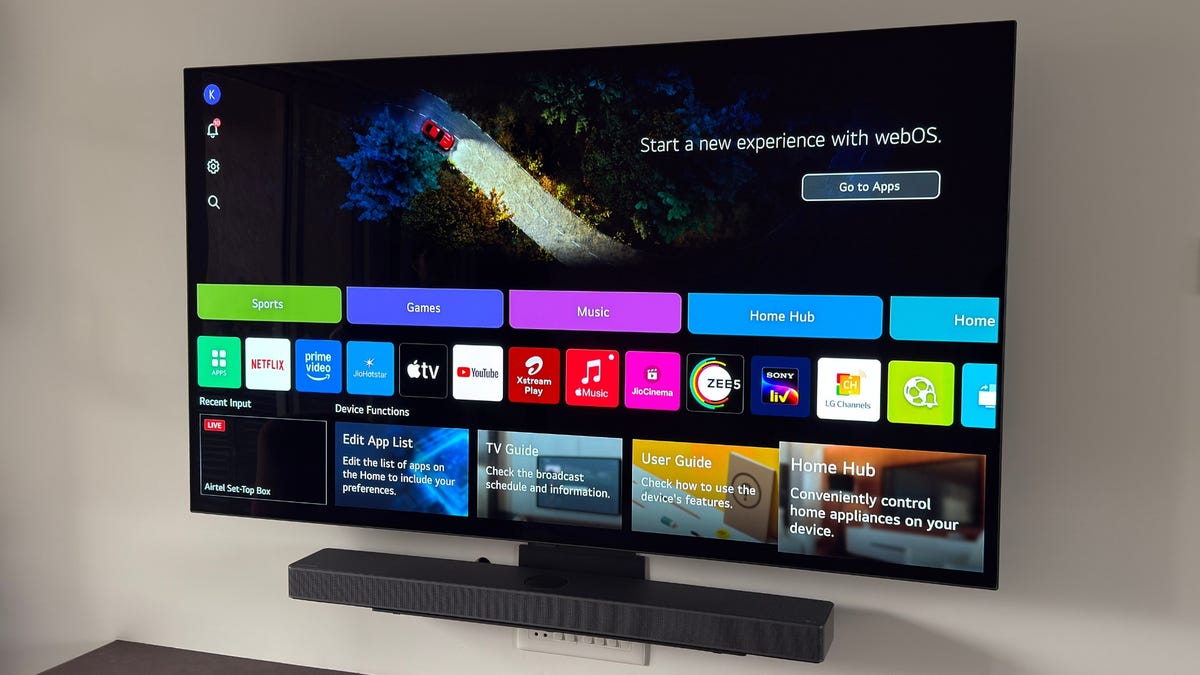
To get started, most of the settings that we’ll be changing are easily accessible via the quick menu (pictured above). To get there, simply press the gear icon button on your TV remote. The tiles cover most of the basic settings we will be changing, though there some other options are hidden a little deeper in the menus.
Tip: You can also customize the tiles you have on this screen by scrolling over to the pencil icon in the topmost setting tile.
1. Turn off Energy Saving
The first thing you’ll want to do is turn off the energy-saving mode. Leaving this on limits the maximum brightness your LG TV can achieve. To do this, access the quick menu with your remote and follow these steps: All Settings > General > Energy Saving > Energy Saving. Toggle this setting to Off.
2. Turn off Eye Care Mode
Eye Care Mode limits the blue light emitted by your LG TV’s screen. It also affects the color output of the panel, shifting it to a warmer tone that’s supposed to reduce the strain on your eyes. However, this also means the colors you see in a movie or a TV show may not be what the filmmakers intended.
To turn off Eye Care Mode, bring up the quick settings menu and simplify toggle it off with its tile. The setting is called Reduce Blue Light in the Advanced Settings menu and can also be turned off from here: All Settings > Picture > Advanced Settings > Reduce Blue Light.
3. Select a picture mode
The majority of TV settings are designed for store shelves. They show off the brightest, most colorful picture output the panel can achieve, and while these settings are eye-catching, they aren’t as appealing once you have the TV in your living room. Even if you selected a different mode when you first set up the TV, it’s worth choosing the most accurate mode for your day-to-day viewing.
To that end, switch to the Cinema mode, which is almost always the best picture setting for any TV. Certain models also have Filmmaker mode, which is even better and more accurate than Cinema. It disables most of the post-processing that’s done by your TV, which often reduces image quality for 4K sources.
To change the picture mode, press the settings button on your remote, access the Picture Mode tile and choose Cinema. You can pick Filmmaker if it’s available and see if you like the way it looks, too. You can also access the menu via All Settings > Picture > Select Mode if you want a look at your other options. Keep in mind that if you’re used to watching your TV in a less accurate mode, the warmer, more accurate colors might look strange at first. Give it a day or two to get used to it; after that, the old mode the TV was in will look odd.
4. Adjust brightness (but not the brightness control)
If you have an OLED TV, the panel may not be set to its optimum output. You can use the OLED Pixel Brightness tile in the quick settings menu to change the brightness and set it to 80 or higher. LED LCD models have a Backlight setting that controls how bright the TV is.
Keep in mind that on many LG models, the Brightness control (shown above) changes only the dark parts of the image. Increasing it can wash out the image but doesn’t increase the TV’s light output. Make sure to look for both settings on your TV.
Also, if you want to try your hand at changing a few more of the values in Advanced Settings, LG also has a guide on its website on what values to use for a better image.
5. Turn off motion smoothing (TruMotion)
Motion smoothing, also known as the soap-opera effect on TVs, is a feature that is designed to make movies and sports look “more natural” but some people really dislike its effects. If you want the output image to remain closer to the creator’s intended vision, you’ll want motion smoothing off.
On LG, this setting is called TruMotion,and it’s hidden in Advanced Settings. To turn it off, follow along: All Settings > Picture >Advanced Settings > Clarity > TruMotion. You will have to scroll to the bottom of this menu to find the option.
6. Turn sharpness down
This may seem backwards, but you should turn the sharpness control down. The sharpness control doesn’t actually increase sharpness; it adds edge enhancement. This is like adding lines to the edges of objects, so while it might seem sharper at first glance, it’s actually hiding fine detail. With some models, turning this all the way down is best, but experiment with your TV to see how low you can set it. On some models, setting it fully off artificially blurs the image, so set it slightly higher than that.
7. Enable HDMI-CEC
Lastly, if you have a soundbar or a video game console setup with your LG TV, you’ll want to enable SIMPLINK. This is the term LG uses for HDMI-CEC, where the CEC stands for Consumer Electronics Control. This feature effectively lets any HDMI-connected devices power on and control your TV and vice-versa. It makes things a lot simpler as it enables you to use a single remote, in most cases.
To enable this head into All Settings > General > External Devices > HDMI Settings > SIMPLINK.
Changing these six settings should level up your LG TV experience. As while it may look quite different, let your eyes get used to the change for a few days before making any other modifications. If things are already feeling a lot better, you might also want to try customizing your display sharpness to further improve picture quality.
Read the full article here


